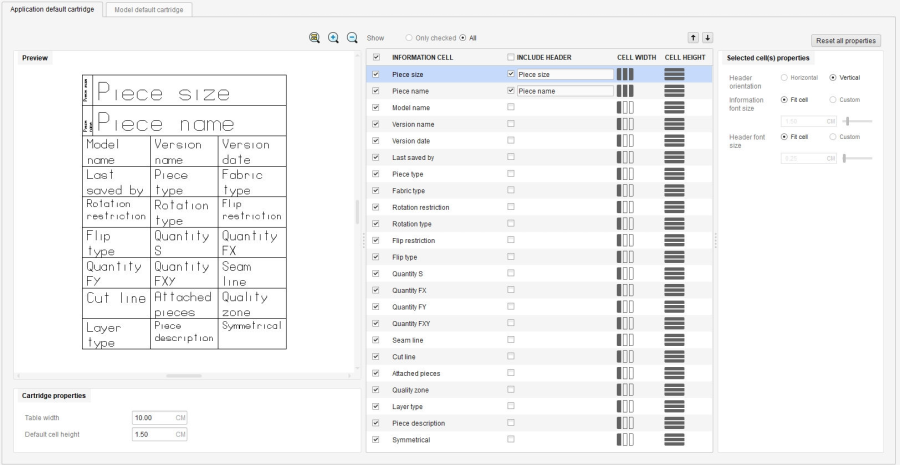
The piece information cartridge manages the way the written information is handled on the patterns, on screen and on the plotter. The piece information cartridge can be customized, allowing to choose what information will be included in the cartridge, what size, the position and the name of each field, and whether they should appear on screen, on plotter or on both.
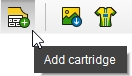
To add a cartridge, enter the Garment Mode, and select the Add cartridge function from the specific toolbar. Follow the steps indicated in the Activity Zone.
The cartridge can be customized:
- during Step 2, when it is created;
- after it was created, by selecting it and using the Context options menu from the Activity Zone.
Note!If at least one piece is selected, upon entering the Addcartridge function, in Activity Zone, will be automatically displayed the Step2: Edit cartridge.
The piece information cartridge manages the way the written information is handled on the patterns, on the screen and on the plotter. The piece information cartridge can be customized, allowing to choose what information will be included in the cartridge, what will be the size, the position and the name of each field, and whether it should appear on screen, on plotter or on both.
The style of the Info Cartridge can be predefined in the Menu toolbar / Settings / Cartridge definition, as an organization level standard, and can be further customized for each model and even for each piece.